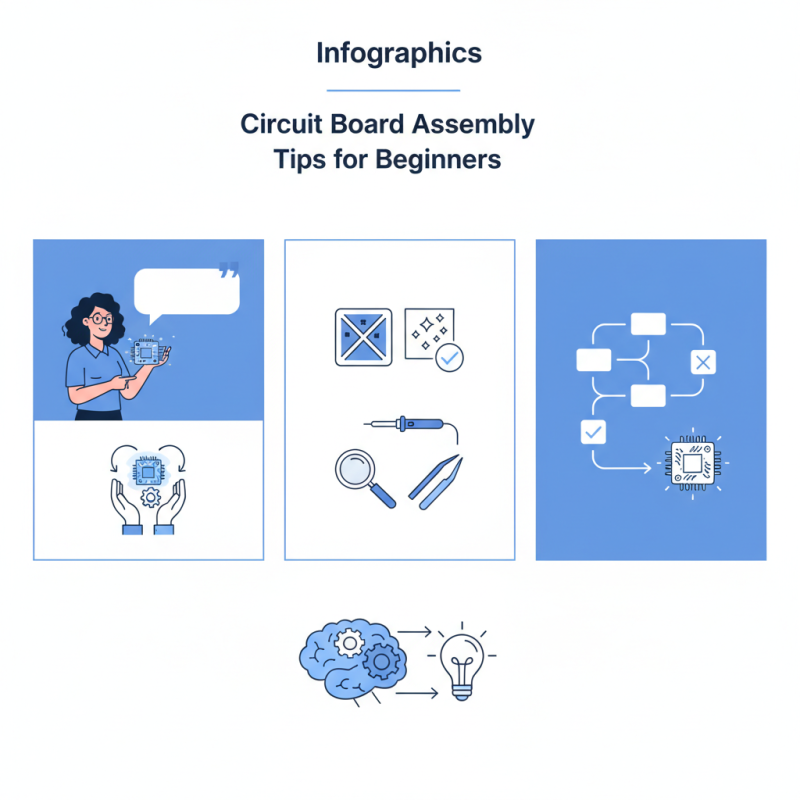
Best Circuit Board Assembly Tips for Beginners?
When diving into the world of circuit board assembly, beginners often feel overwhelmed. Noted expert Dr. Jane Foster, a leading engineer in the electronics industry, once said, “Precision is key; even small mistakes can lead to failures.” This underscores the importance of accuracy when assembling circuit boards.
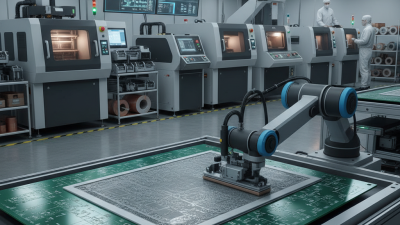
Beginners might overlook common pitfalls. For instance, forgetting to clean surfaces before soldering can result in poor connections. It’s essential to have the right tools, like fine-tip soldering irons and magnifying glasses for better precision. Many newcomers may rush through these steps, only to face issues later on.
Attention to detail is crucial in circuit board assembly. Each component placement matters. Missing a single step can lead to circuits not functioning correctly. As you venture into this intricate process, take your time, reflect on your methods, and learn from any missteps along the way.
Essential Tools for Circuit Board Assembly Beginners
When starting in circuit board assembly, having the right tools is crucial. A good soldering iron is essential. It should have adjustable temperature settings. This allows you to work with various components effectively. In fact, reports indicate that proper soldering can improve connection reliability by over 30%.
Another important tool is a multimeter. This device helps in testing voltage, current, and resistance. Beginners often overlook its significance. However, about 25% of assembly errors come from incorrect component values. A multimeter can catch these issues early, saving time and frustration.
Don't forget about safety gear. Eye protection is a must. Solder fumes can be harmful if inhaled too often. Some beginners ignore this, thinking they are invincible. In reality, regular exposure can cause long-term health issues. Working in a well-ventilated area can mitigate this risk.
Having a clean workspace is also vital. A cluttered area can lead to misplaced components. Such mistakes are common among newcomers. They can easily disrupt workflow. Hence, organizing your tools and components could drastically improve efficiency. These considerations are just the tip of the iceberg for circuit board assembly.
Understanding Circuit Board Design and Layout Basics
Understanding circuit board design and layout is crucial for beginners. The first step is to know the types of components used. Resistors, capacitors, and integrated circuits are common. Each has its purpose and needs proper placement. Sourcing quality components can be challenging, but it pays off in performance and longevity.
When creating a layout, spacing is key. Placing components too close can lead to shorts. The routing of traces requires thoughtful planning. Keep traces as short as possible. This reduces interference and improves signal quality. Many new designers overlook the importance of ground planes. They provide stability and help with noise reduction.
Using software to create designs is helpful, but it can be overwhelming at first. Tutorials can be useful but sometimes miss critical details. Beginners often rush through the process, leading to mistakes. It's vital to review designs thoroughly. Taking time to double-check can save frustration during assembly. Building a circuit board is a learning journey, filled with challenges and small victories. Embrace the imperfections; they are part of the growth.
Best Circuit Board Assembly Tips for Beginners
| Tips |
Description |
Importance |
| Understand the Basics of Schematic Design |
Learn how electrical components are represented in schematics. |
High |
| Choose the Right Software |
Select user-friendly PCB design software for ease of use. |
Medium |
| Pay Attention to Component Placement |
Strategically place components to minimize trace lengths and improve signal integrity. |
High |
| Incorporate Ground Planes |
Use ground planes to reduce electromagnetic interference. |
High |
| Verify Design with Simulation Tools |
Run simulations to catch potential errors before production. |
Medium |
| Follow Good Routing Practices |
Route traces efficiently while maintaining signal integrity and power distribution. |
High |
| Consider Thermal Management |
Implement thermal relief techniques to avoid overheating components. |
Medium |
| Use Proper Design Rules |
Follow industry standards for trace width, clearances, and via sizes. |
High |
Step-by-Step Guide to Soldering Techniques
Soldering can be a daunting task for beginners. However, mastering this skill is essential for successful circuit board assembly. Start by gathering all necessary tools: soldering iron, solder, wire cutters, and a soldering mat. Setting up a clean workspace can prevent accidents and make the process smoother.
When beginning your soldering journey, it helps to practice on spare components. This allows you to get a feel for the soldering iron. A common mistake is applying too much solder. Aim for small blobs. The solder should flow smoothly but not create a mess. Keep a damp sponge nearby to clean your soldering tip regularly.
Here are a few tips to keep in mind. Always heat both the component lead and the pad before applying solder. This ensures a strong connection. Pay attention to what you’re soldering. Sometimes, it’s easy to lose focus and accidentally solder the wrong components. If that happens, don’t panic. Just use desoldering braid or a solder sucker to correct mistakes. Soldering isn't perfect at first. Embrace the imperfections and learn from them.
Common Mistakes to Avoid in Circuit Board Assembly
When starting with circuit board assembly, beginners often make common mistakes that can derail their projects. One frequent error is neglecting to double-check the schematic before starting. Misreading the layout can lead to incorrect component placement. This mistake can be frustrating and waste time, especially when working with intricate designs.
Another common pitfall is soldering without proper preparation. Beginners sometimes forget to clean the circuit board or use the wrong soldering technique. This can create weak connections that fail later. Additionally, rushing through the assembly can lead to missed components or faulty joints, which can disrupt the entire project. Taking time to ensure everything is in order is crucial.
Finally, overlooking the importance of testing can be detrimental. Some beginners skip testing each stage, leading to complex troubleshooting later. It's vital to check for issues before assembling the entire board. Such oversights can lead to repeated cycles of fixing and reworking. Reflecting on these mistakes can make a big difference in future projects.
Tips for Testing and Troubleshooting Your Assembled Circuit Board
When you complete your circuit board assembly, testing and troubleshooting are crucial steps. Many beginners overlook this phase, which can lead to failures down the line. A report from IPC indicates that nearly 30% of electronic failures stem from incorrect board assembly. Therefore, spending time on thorough testing can save time and resources in the long run.
Begin by visually inspecting the board. Check for solder bridges, cold joints, or misplaced components. One common mistake is improper alignment of parts, which can lead to functionality issues. According to a survey, over 20% of new assemblers misplace components during assembly. Also, consider using a multimeter to verify connections. Measuring resistance and checking for shorts can unveil hidden problems.
For troubleshooting, systematic testing is essential. Start with a simple power test to ensure the board powers up correctly. If it doesn’t, retrace your steps. Probe for voltage at critical points. Keep in mind that not all issues are visible. Some may require signal tracing or scope analysis. Learn from the process. Mistakes are part of the learning curve in circuit board assembly. Regularly review testing results and adjust your techniques accordingly.